Configuring SNMP agentless monitoring on Windows Server 2012 / R2
Open server manager by clicking on the icon on your taskbar
![]()
Click on Add roles and features then click Next à Select Role-based or feature-based installation and click Next.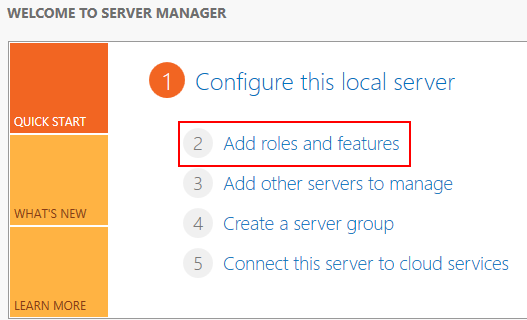
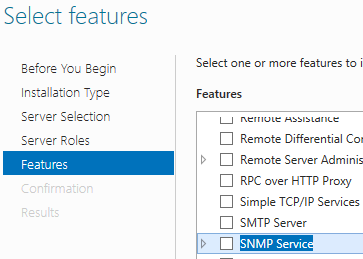
Now select a server from the server pool like your local server’s name and click on Next à click on Next on the Server roles screen à Now under features check the box under SNMP Service.
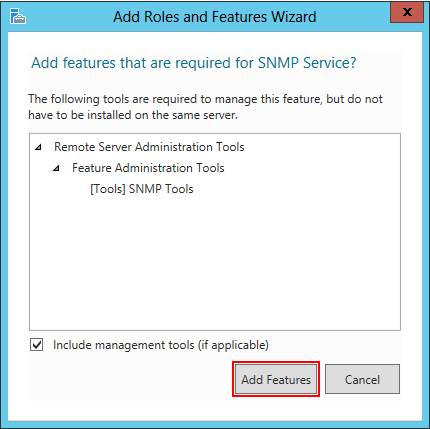
Once this is selected another window will open if the other features aren’t already installed on your local server. Click on Add Features à click Next à click Install. Once installed, click Close.
Now that you installed the SNMP service open up Windows services by holding the windows key and press the letter R to get to the run prompt. Type in “services.msc” and click OK.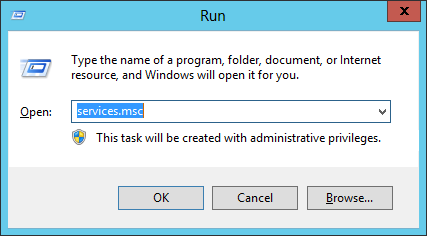
Next verify that the service is started as well as set to automatic startup and double click on SNMP Service.

Under the Agent tab select what services you want to monitor and click on the Security tab next.
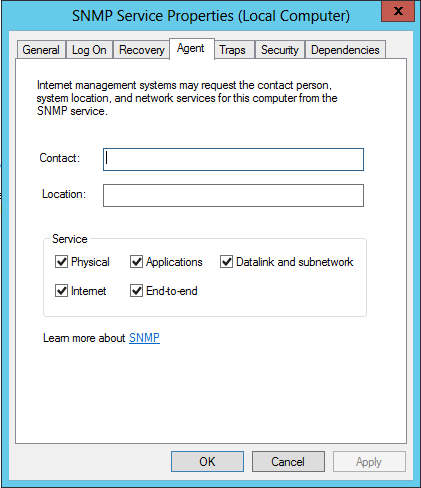
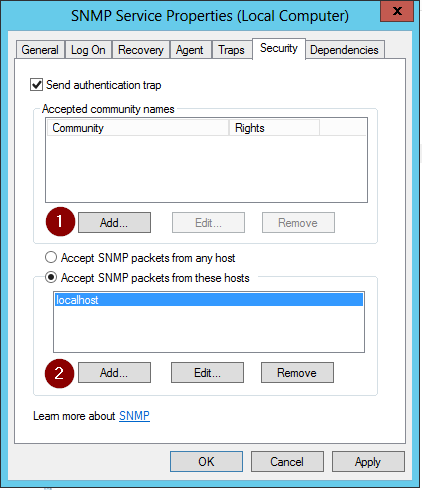
Next you first want to click on Add under the accepted community name and define if it’s read only or not and give it a name. This is the name that you would be using to communicate with the server gathering SNMP data from the machine. Second you want to define the SNMP server’s IP address so click on Add in the lower section of the window and provide the static IP address of the monitoring server to allow it to accept packets from that host. Finally click OK then restart the SNMP service and you are finished from the host side of Configuring SNMP agentless monitoring on Windows Server 2012 / R2 .
